Installing Ethora on localhost
Deploying Ethora on localhost for Dev / QA purposes
Get deploy package from github or via tarball download. Unpack / sync it into some source directory, for example /home/ubuntu/ethora-install or /home/ubuntu/ethora-monoserver.
(Optional) verify that your deploy package includes the essential services: ethora-backend, ethora-app-reactjs, ejabberd-docker.
Decide on the target directory. For example, /home/ubuntu/ethora or /home/ubuntu/deptest. You can install in the same directory where your installation package is, but we recommend to have a separate target directory. This way you can delete the target dir and repeat a clean install whenever you need.
Go to your deploy service config dir:
cd /home/ubuntu/[source-directory]/deploy/configIf you don't have a deploy.yml yet, copy your localhost template:
cp deploy-local.yml.template deploy.ymlEdit your deploy.yml (e.g.
nano deploy.yml). Main parameters to pay attention to would be:
The path for target directory - system will be installed there - ensure this path is available and is suitable for you. You don't have to have the target directory created, the deploy service will create it if it doesn't exist.
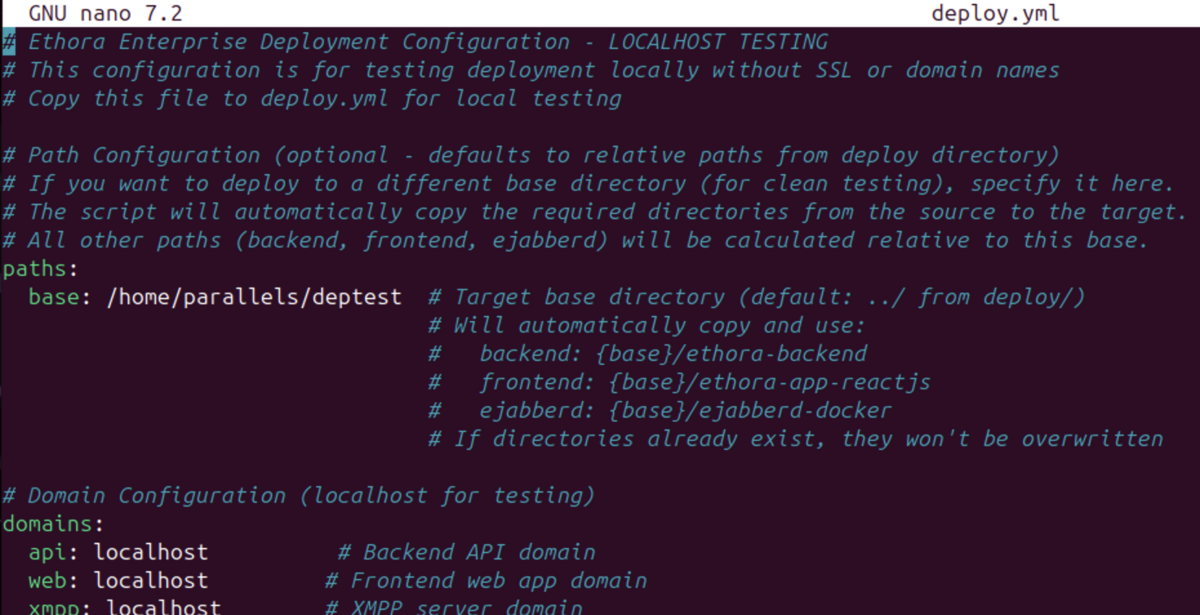
Feature flags - you would normally want all these set to "false" since you don't need them in a localhost test environment. In some cases you might want the AI service enabled.

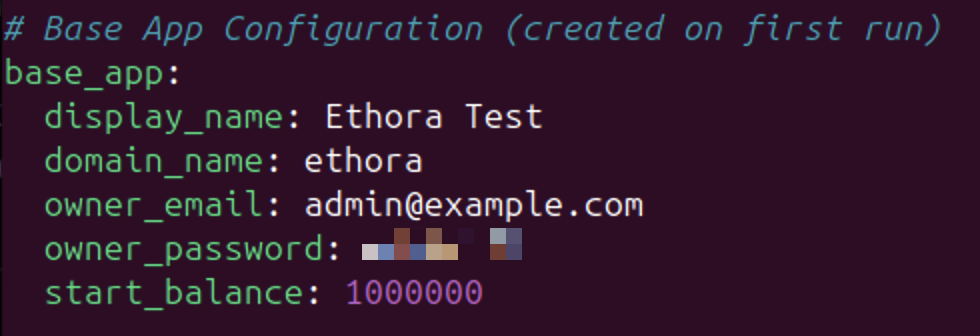
Super-admin user credentials for your Ethora frontend app (admin panel & dashboard)
You can keep the default settings here or change them to something suitable for you. The domain name can be anything since the system will not send e-mails in a standard localhost test configuration. Make sure you note the password and make sure you set a different secure password later for your separate production deployment. You will need this e-mail and password to login into your web app after the install.

Base app configuration. Here you may optionally change the app title (replace "Ethora Test" in display_name with your company name or whatever) - this will be displayed on the login screen of your local frontend app. Again, make sure you take note of the e-mail and password for your web app super user login credentials.
Return to your deploy directory
cd /home/ubuntu/[source-directory]/deploy/andLaunch the install script
sudo ./scripts/install.shThe deploy service will start copying the install files, launching containers and configuring. If everything goes fine, you just need to wait for around 5 minutes. You may hit "Enter" when the system asks you "Clean up previous installations? (y/N):" which selects the default option (do not clean up).
If installation went well, the system will display "All health checks passed!" and you should be able to access the frontend app and the API Docs (Swagger) URLs locally for testing. See screenshots of installation process below. In case you experience any errors please contact Ethora tech support or comment on this topic.
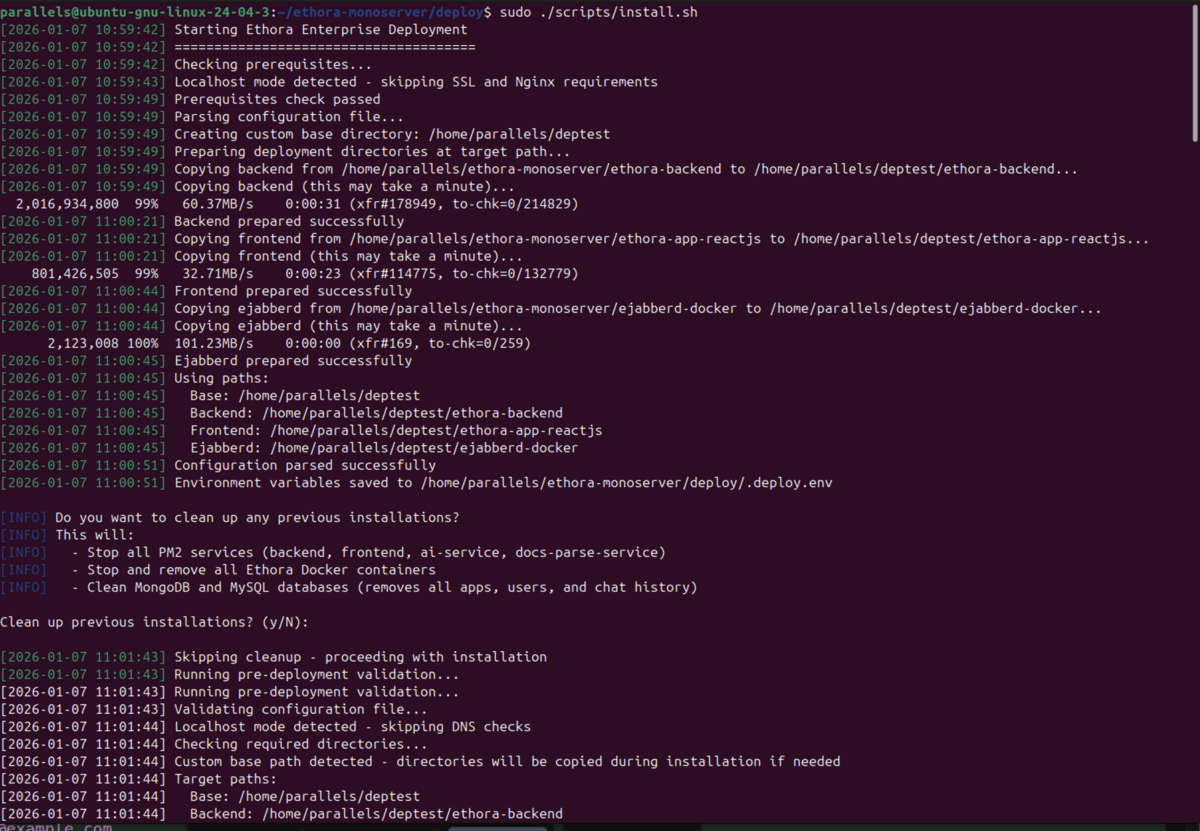
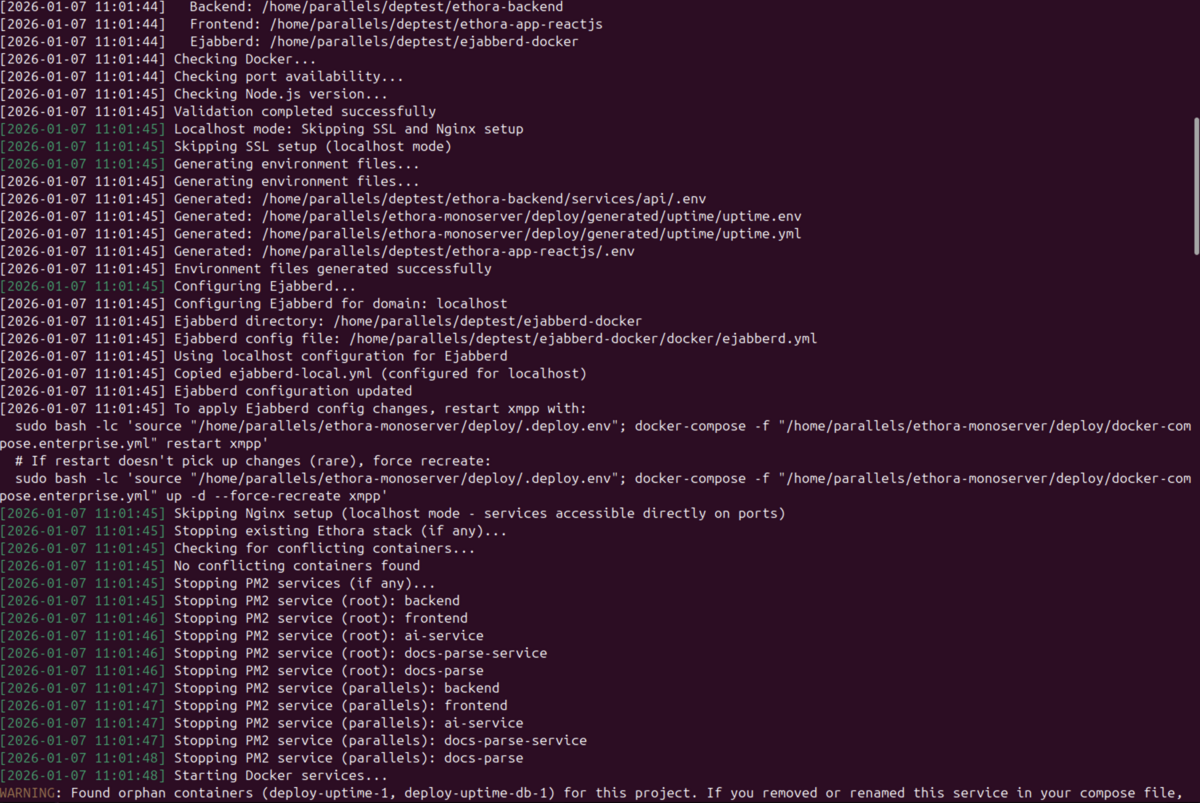
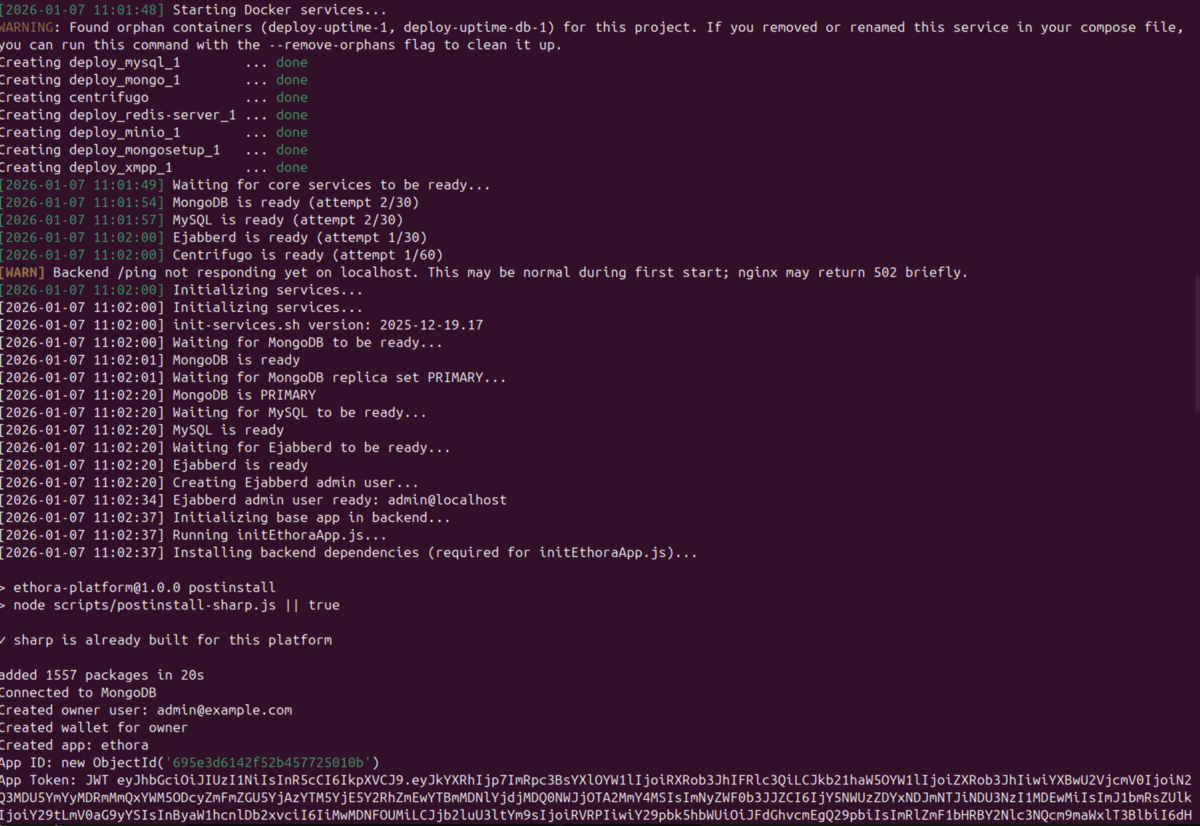
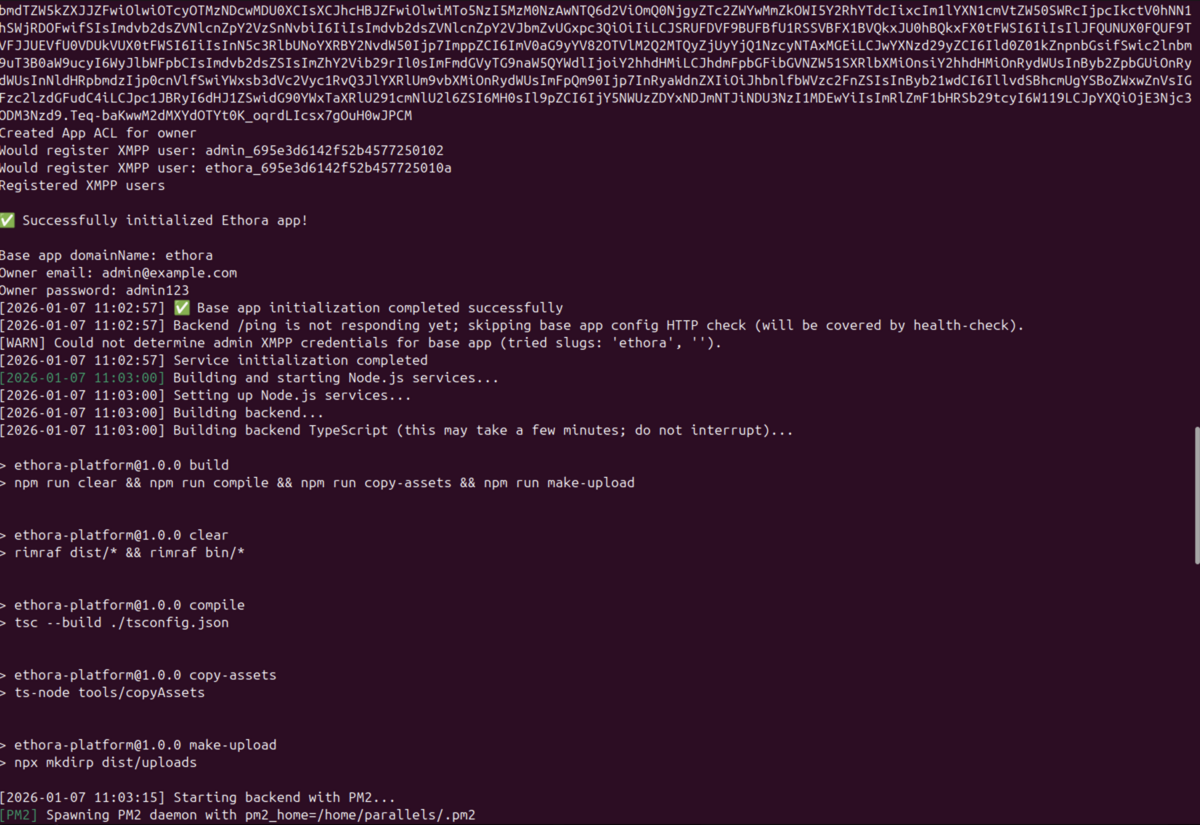
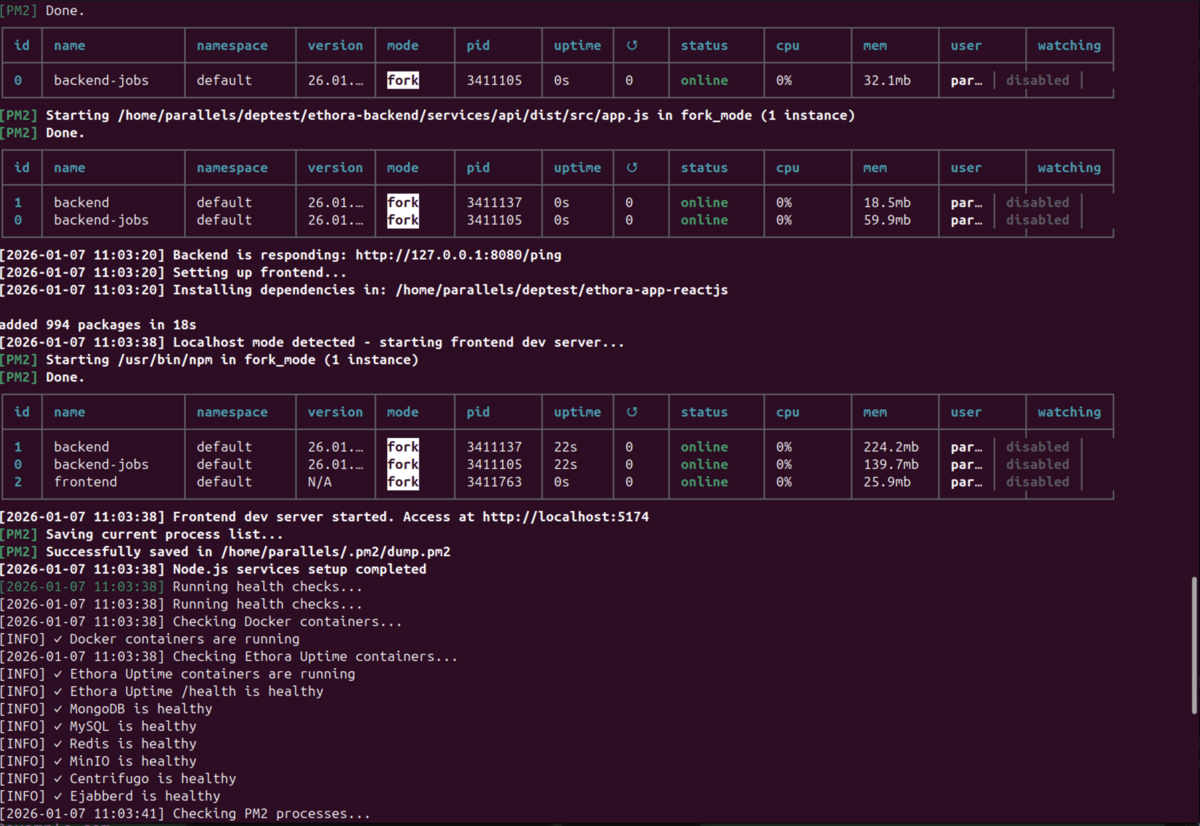
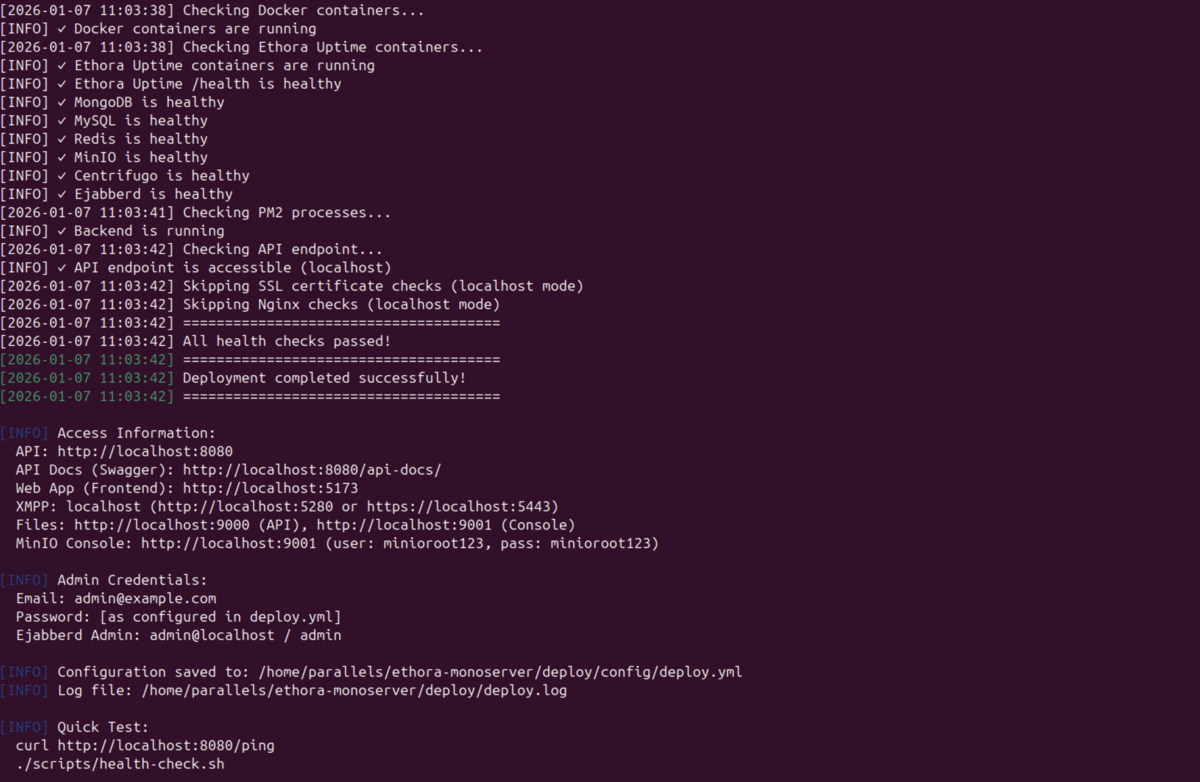
Normally, you should be able to access your local frontend at http://localhost:5173/ however if that doesn't work try http://localhost:5174 since Vite might reassign to the next available port.

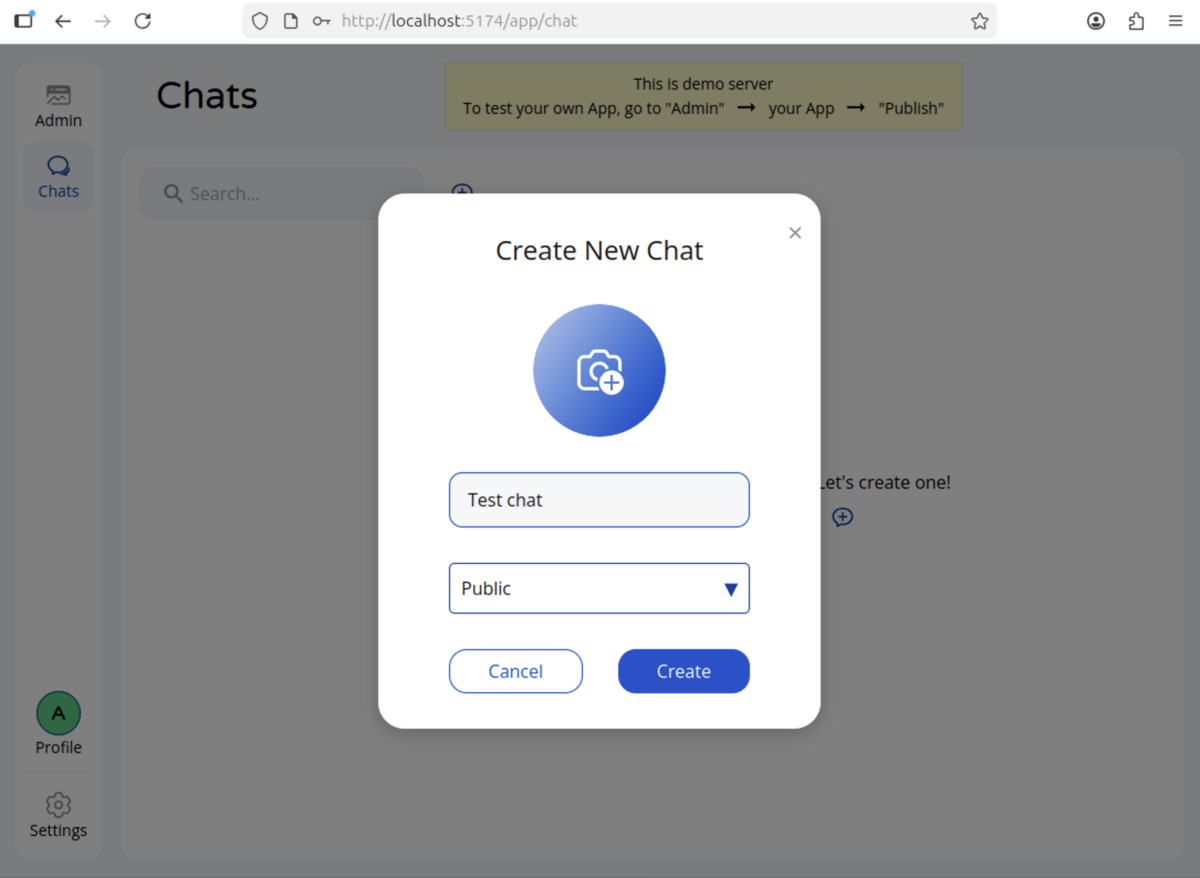
Where after logging in with your superadmin credentials, you should be able to see the admin panel, the chats, and be able to create a new chat room and send messages:
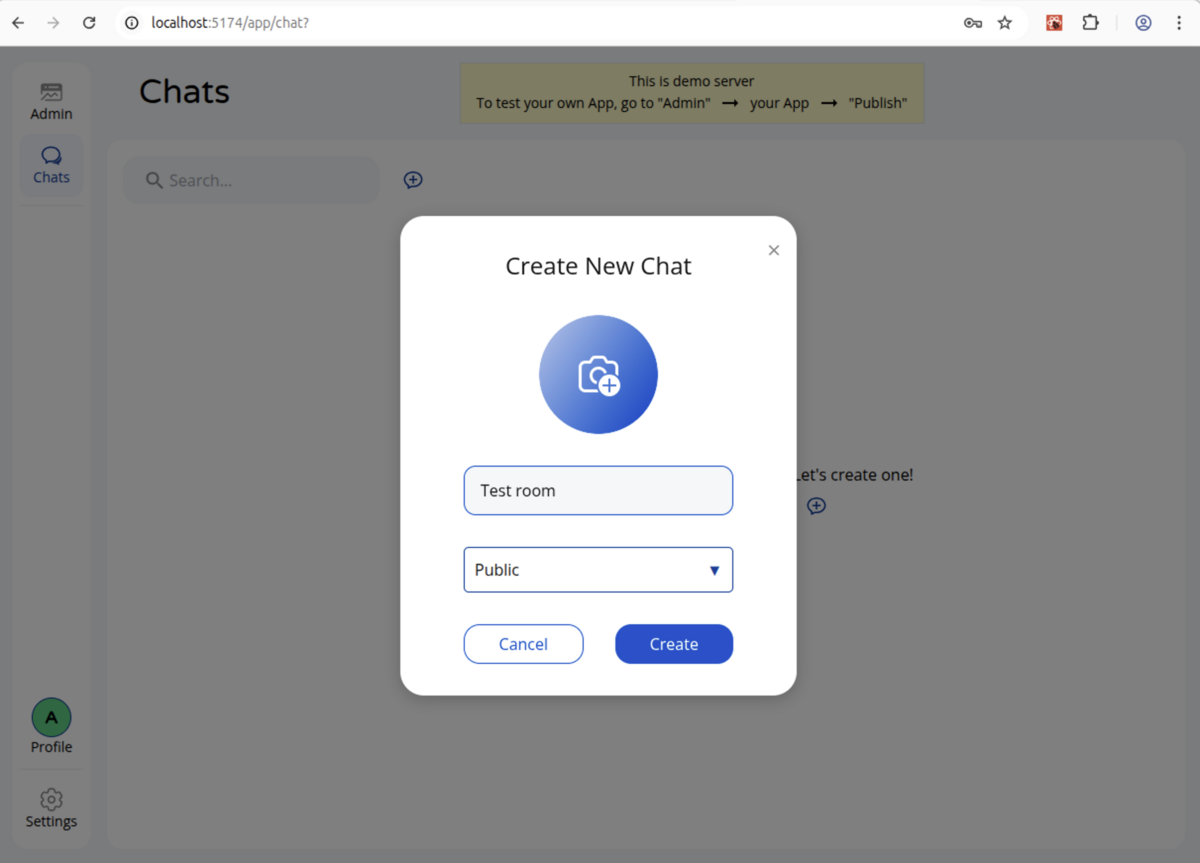
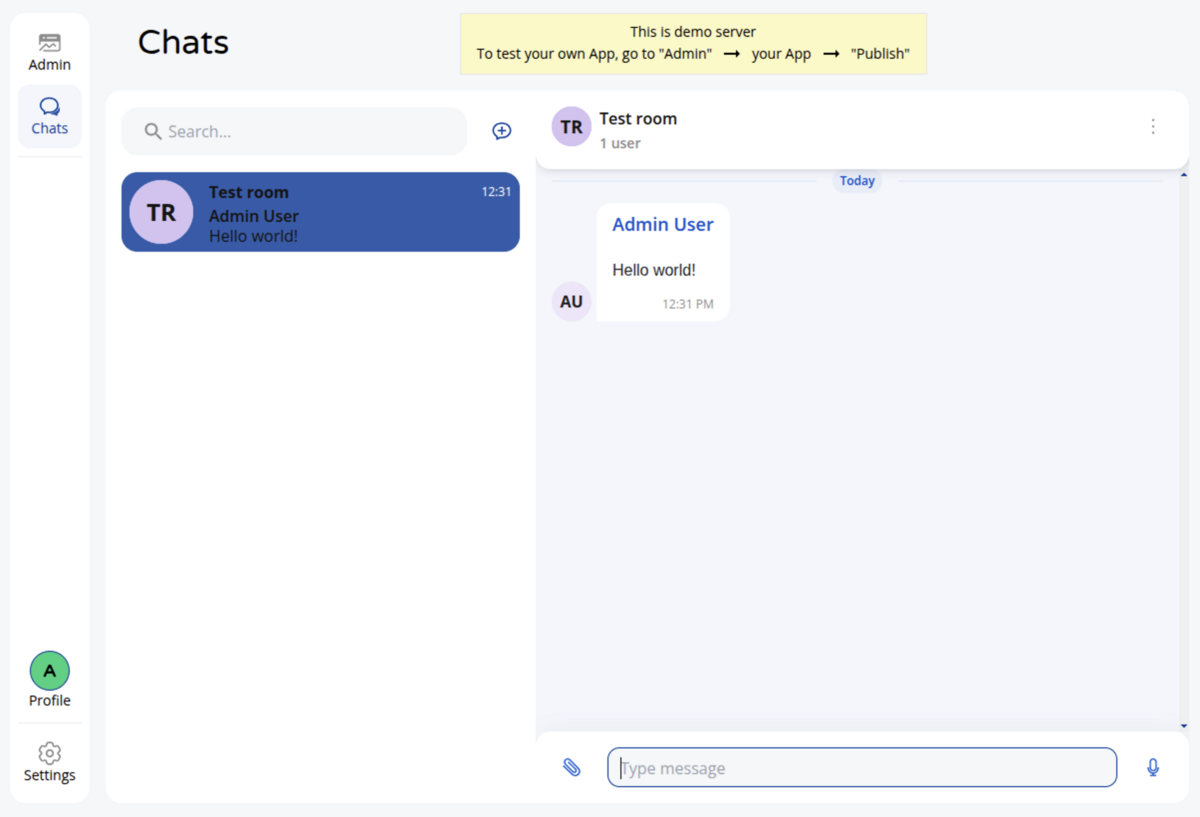
Also, Swagger API documentation should be accessible at http://localhost:8080/api-docs/ 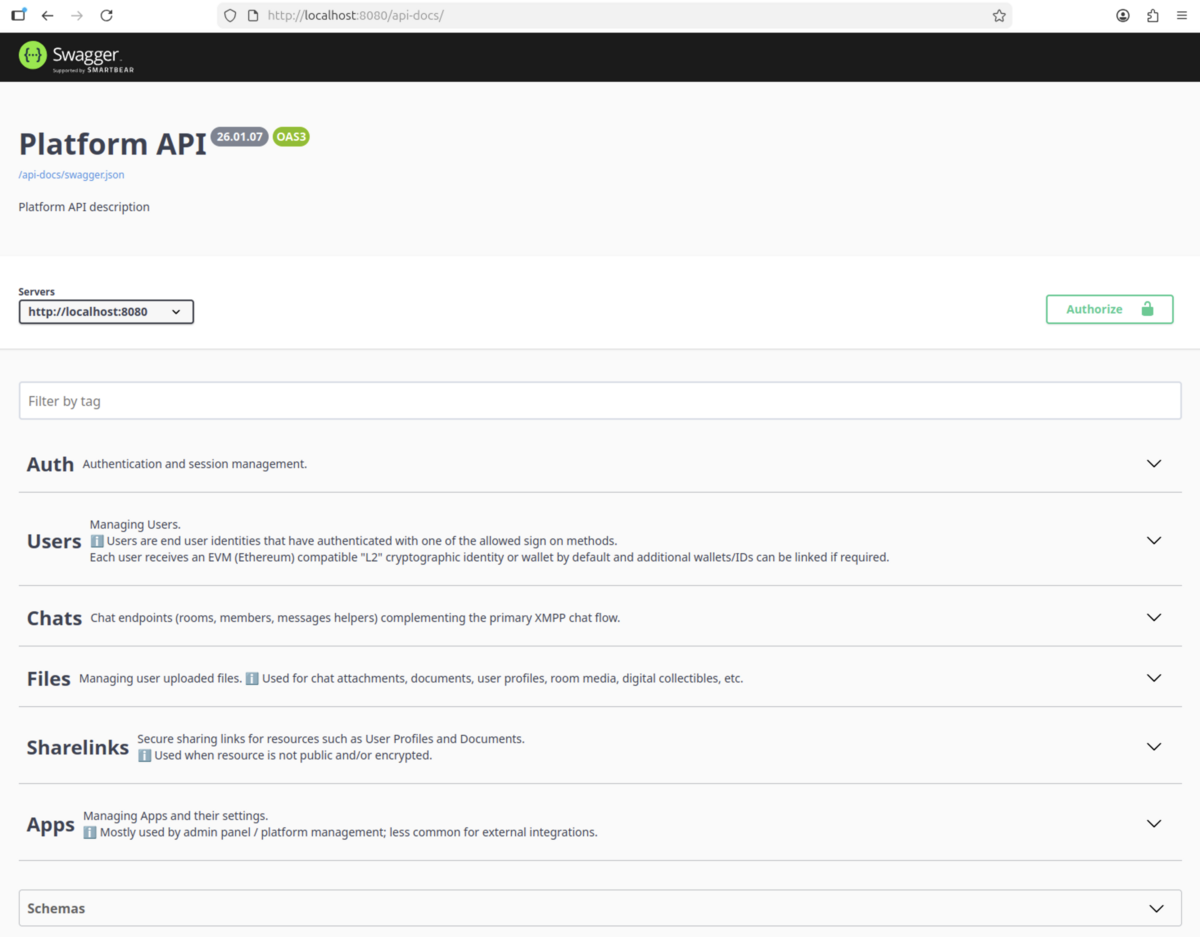
Uninstalling Ethora
To uninstall Ethora from your Ubuntu instance (for example if you need to delete all data and carry out a new clean install):
Pre-requisite: in your source directory deploy service, the config file ([source_dir]/deploy/config/deploy.yml) should have the paths: base: path pointing to your target directory where your local Ethora copy is installed. This will be the case automatically if you used this source directory and this deploy.yml config file for installing your Ethora copy previously.
Go into your source directory deploy service (e.g. cd /home/ubuntu/ethora-monoserver/deploy)
Launch the install script in cleanup mode so that it deletes state and stops all containers:
sudo ./scripts/install.sh --cleanup-onlyType "yes" here:
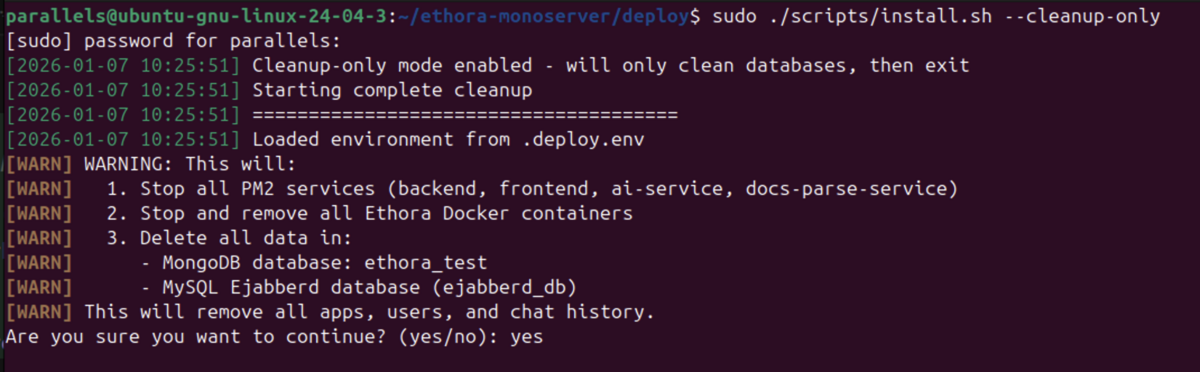
The service will carry out the cleanup of databases and stop the containers:
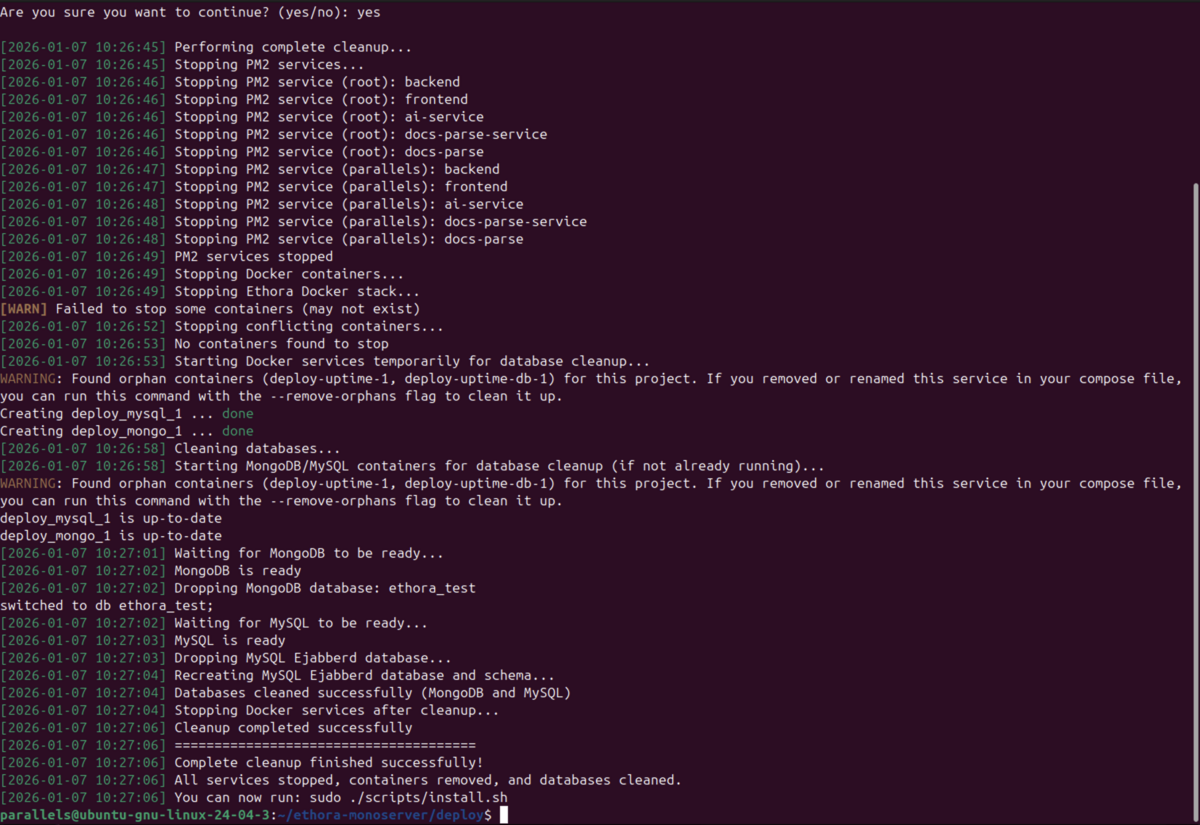
(Optional). For a fully clean install, locate and delete your previous target directory, e.g.:
sudo rm -rf [/ubuntu/home/[your-target-dir])
Your system is now clean from your previous Ethora installation (note some data may be still cached in your browser if you used the frontend app on this machine) and you may now carry out a fresh clean install.
Auto-updating your Ethora installation
Depending on your configuration (assuming you have the source dir on git), you may be able to run an update script that will automatically update your install to the latest version, example:
cd /home/[source dir]
git pull
cd deploy
sudo ./scripts/update.sh --ref dev
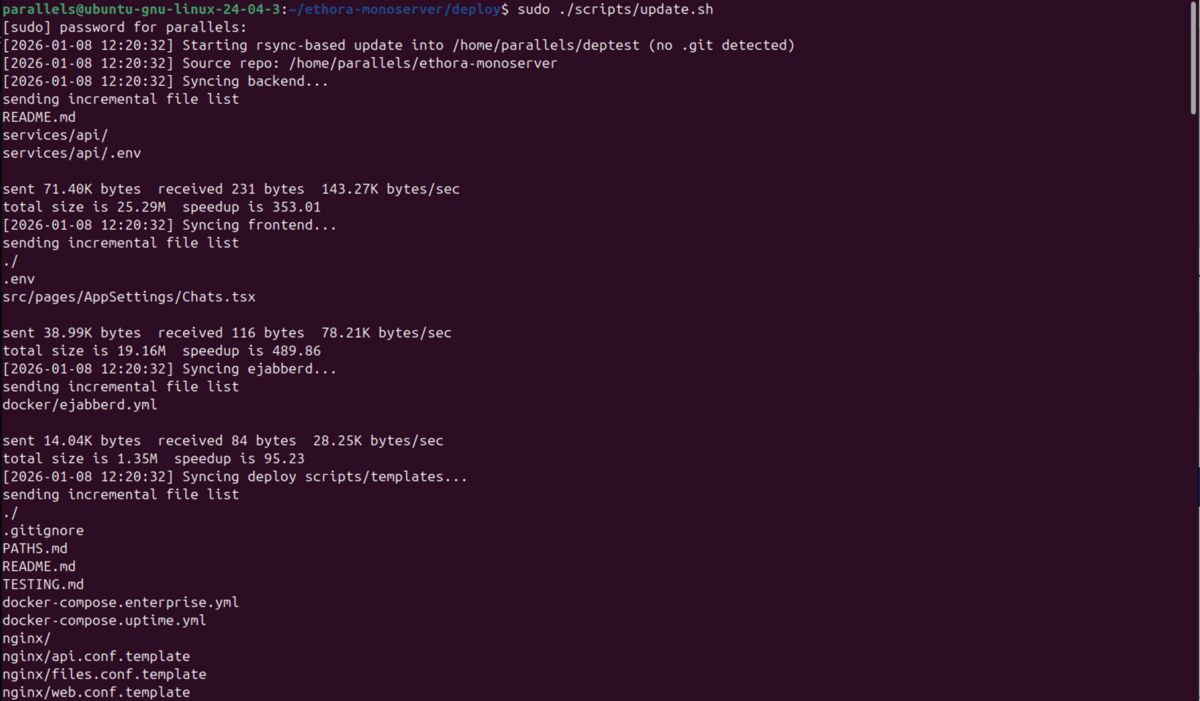
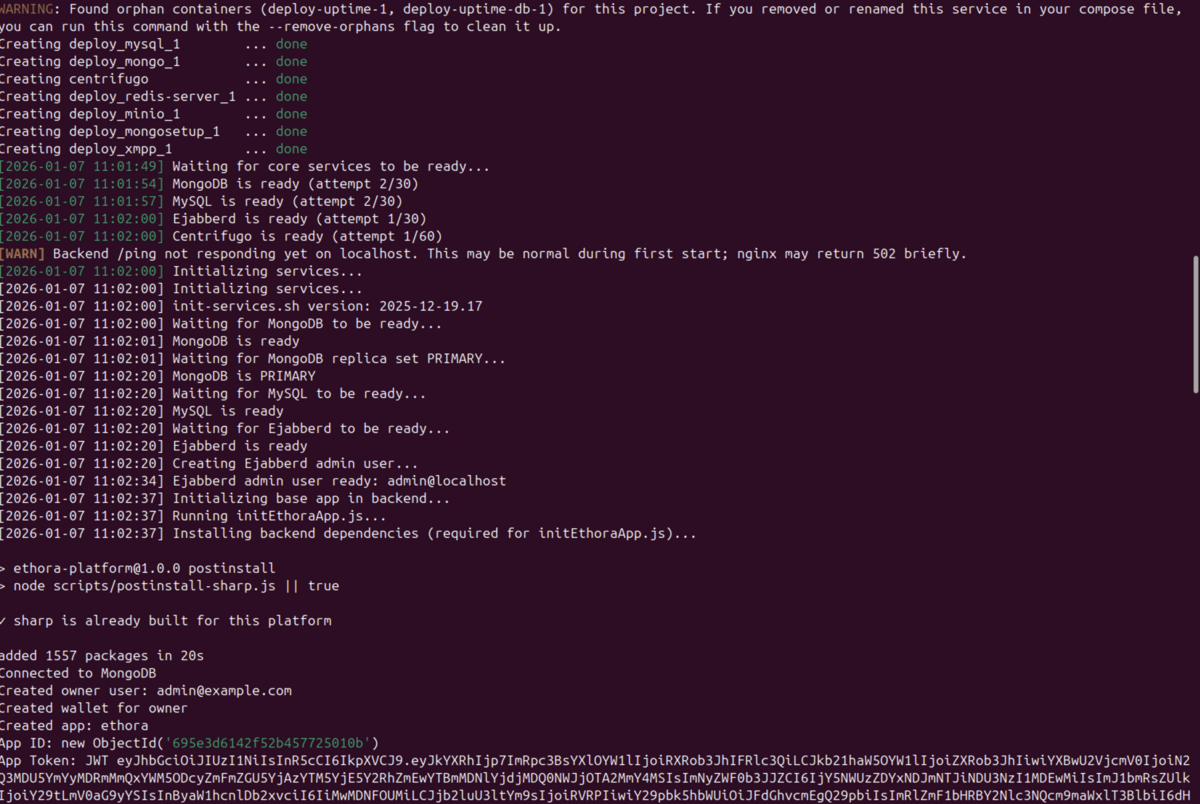
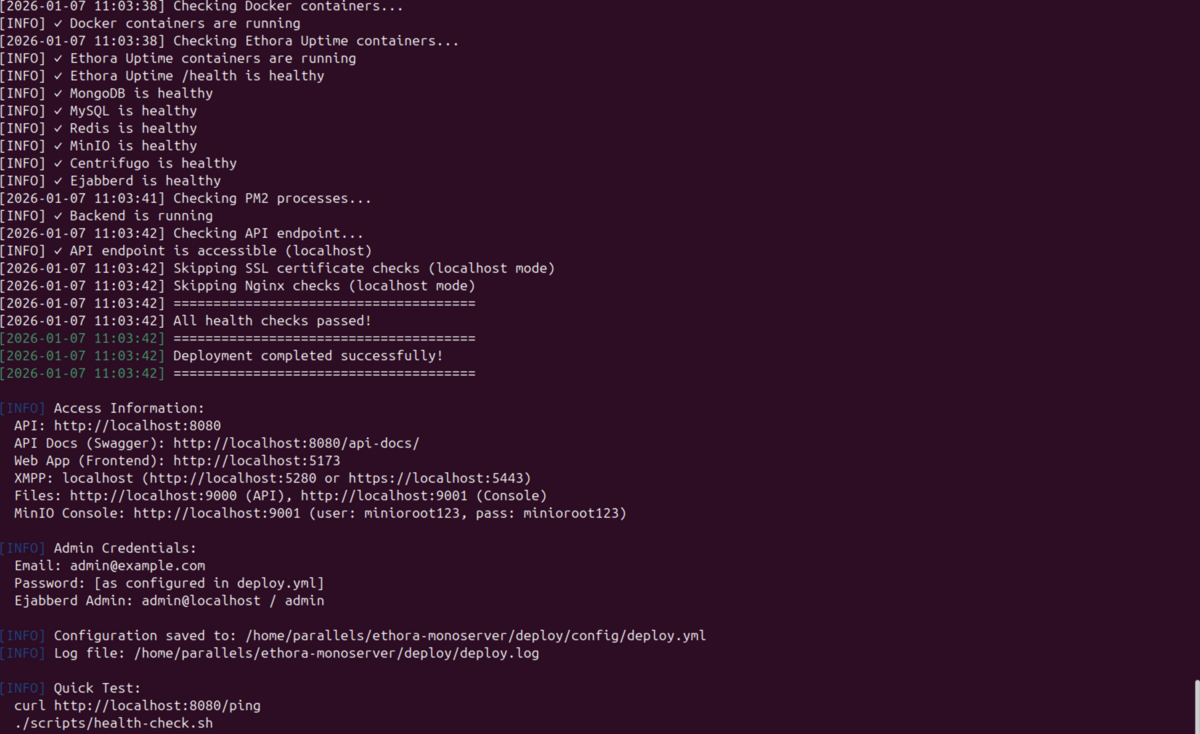

Clean re-install (automated, non-interactive) [deletes data]
To quickly clean up your Ethora installation and automatically install a new version, you can call it like this:
install.sh --reinstall --yes
Warning: this will remove your target installation directory including all data (users, chats, history etc) without warning, so this mode is only suitable for development environment where you don't have any production data and you need to update your system frequently.
Also you may find useful this more detailed full clean reinstall sequence that retains your config file:
set -euo pipefail

REPO_DIR="/home/ubuntu/ethora-monoserver"
KEEP_CFG_REL="deploy/config/deploy.yml"
BACKUP_CFG="/tmp/deploy.yml.$(date +%s).bak"

cd "$REPO_DIR"

# 0) Backup deploy.yml (the only thing we keep)
cp -v "$KEEP_CFG_REL" "$BACKUP_CFG"

# 1) Stop everything / cleanup (stops docker-compose + pm2 etc)
sudo "$REPO_DIR/deploy/scripts/install.sh" --cleanup-only --yes || true

# 2) Compute target runtime dir from deploy.yml (paths.base) and delete it
BASE_DIR="$(yq eval '.paths.base' "$REPO_DIR/$KEEP_CFG_REL")"
echo "paths.base = $BASE_DIR"
sudo rm -rf -- "$BASE_DIR"

# 3) Delete the repo checkout entirely
cd /home/ubuntu
sudo rm -rf -- "$REPO_DIR"

# 4) Fresh clone dev + submodules
# SSH:
git clone --branch dev --recurse-submodules git@github.com:dappros/ethora-monoserver.git "$REPO_DIR"
# (or HTTPS if you prefer)
# git clone --branch dev --recurse-submodules https://github.com/dappros/ethora-monoserver.git "$REPO_DIR"

# 5) Restore deploy.yml into the new checkout
cp -v "$BACKUP_CFG" "$REPO_DIR/$KEEP_CFG_REL"

# 6) Install (non-interactive)
cd "$REPO_DIR/deploy"
sudo ./scripts/install.sh --yes